A Guide to Immersive Simulation Gear
NexArena Immersion Journal
A Guide to Immersive Simulation Gear
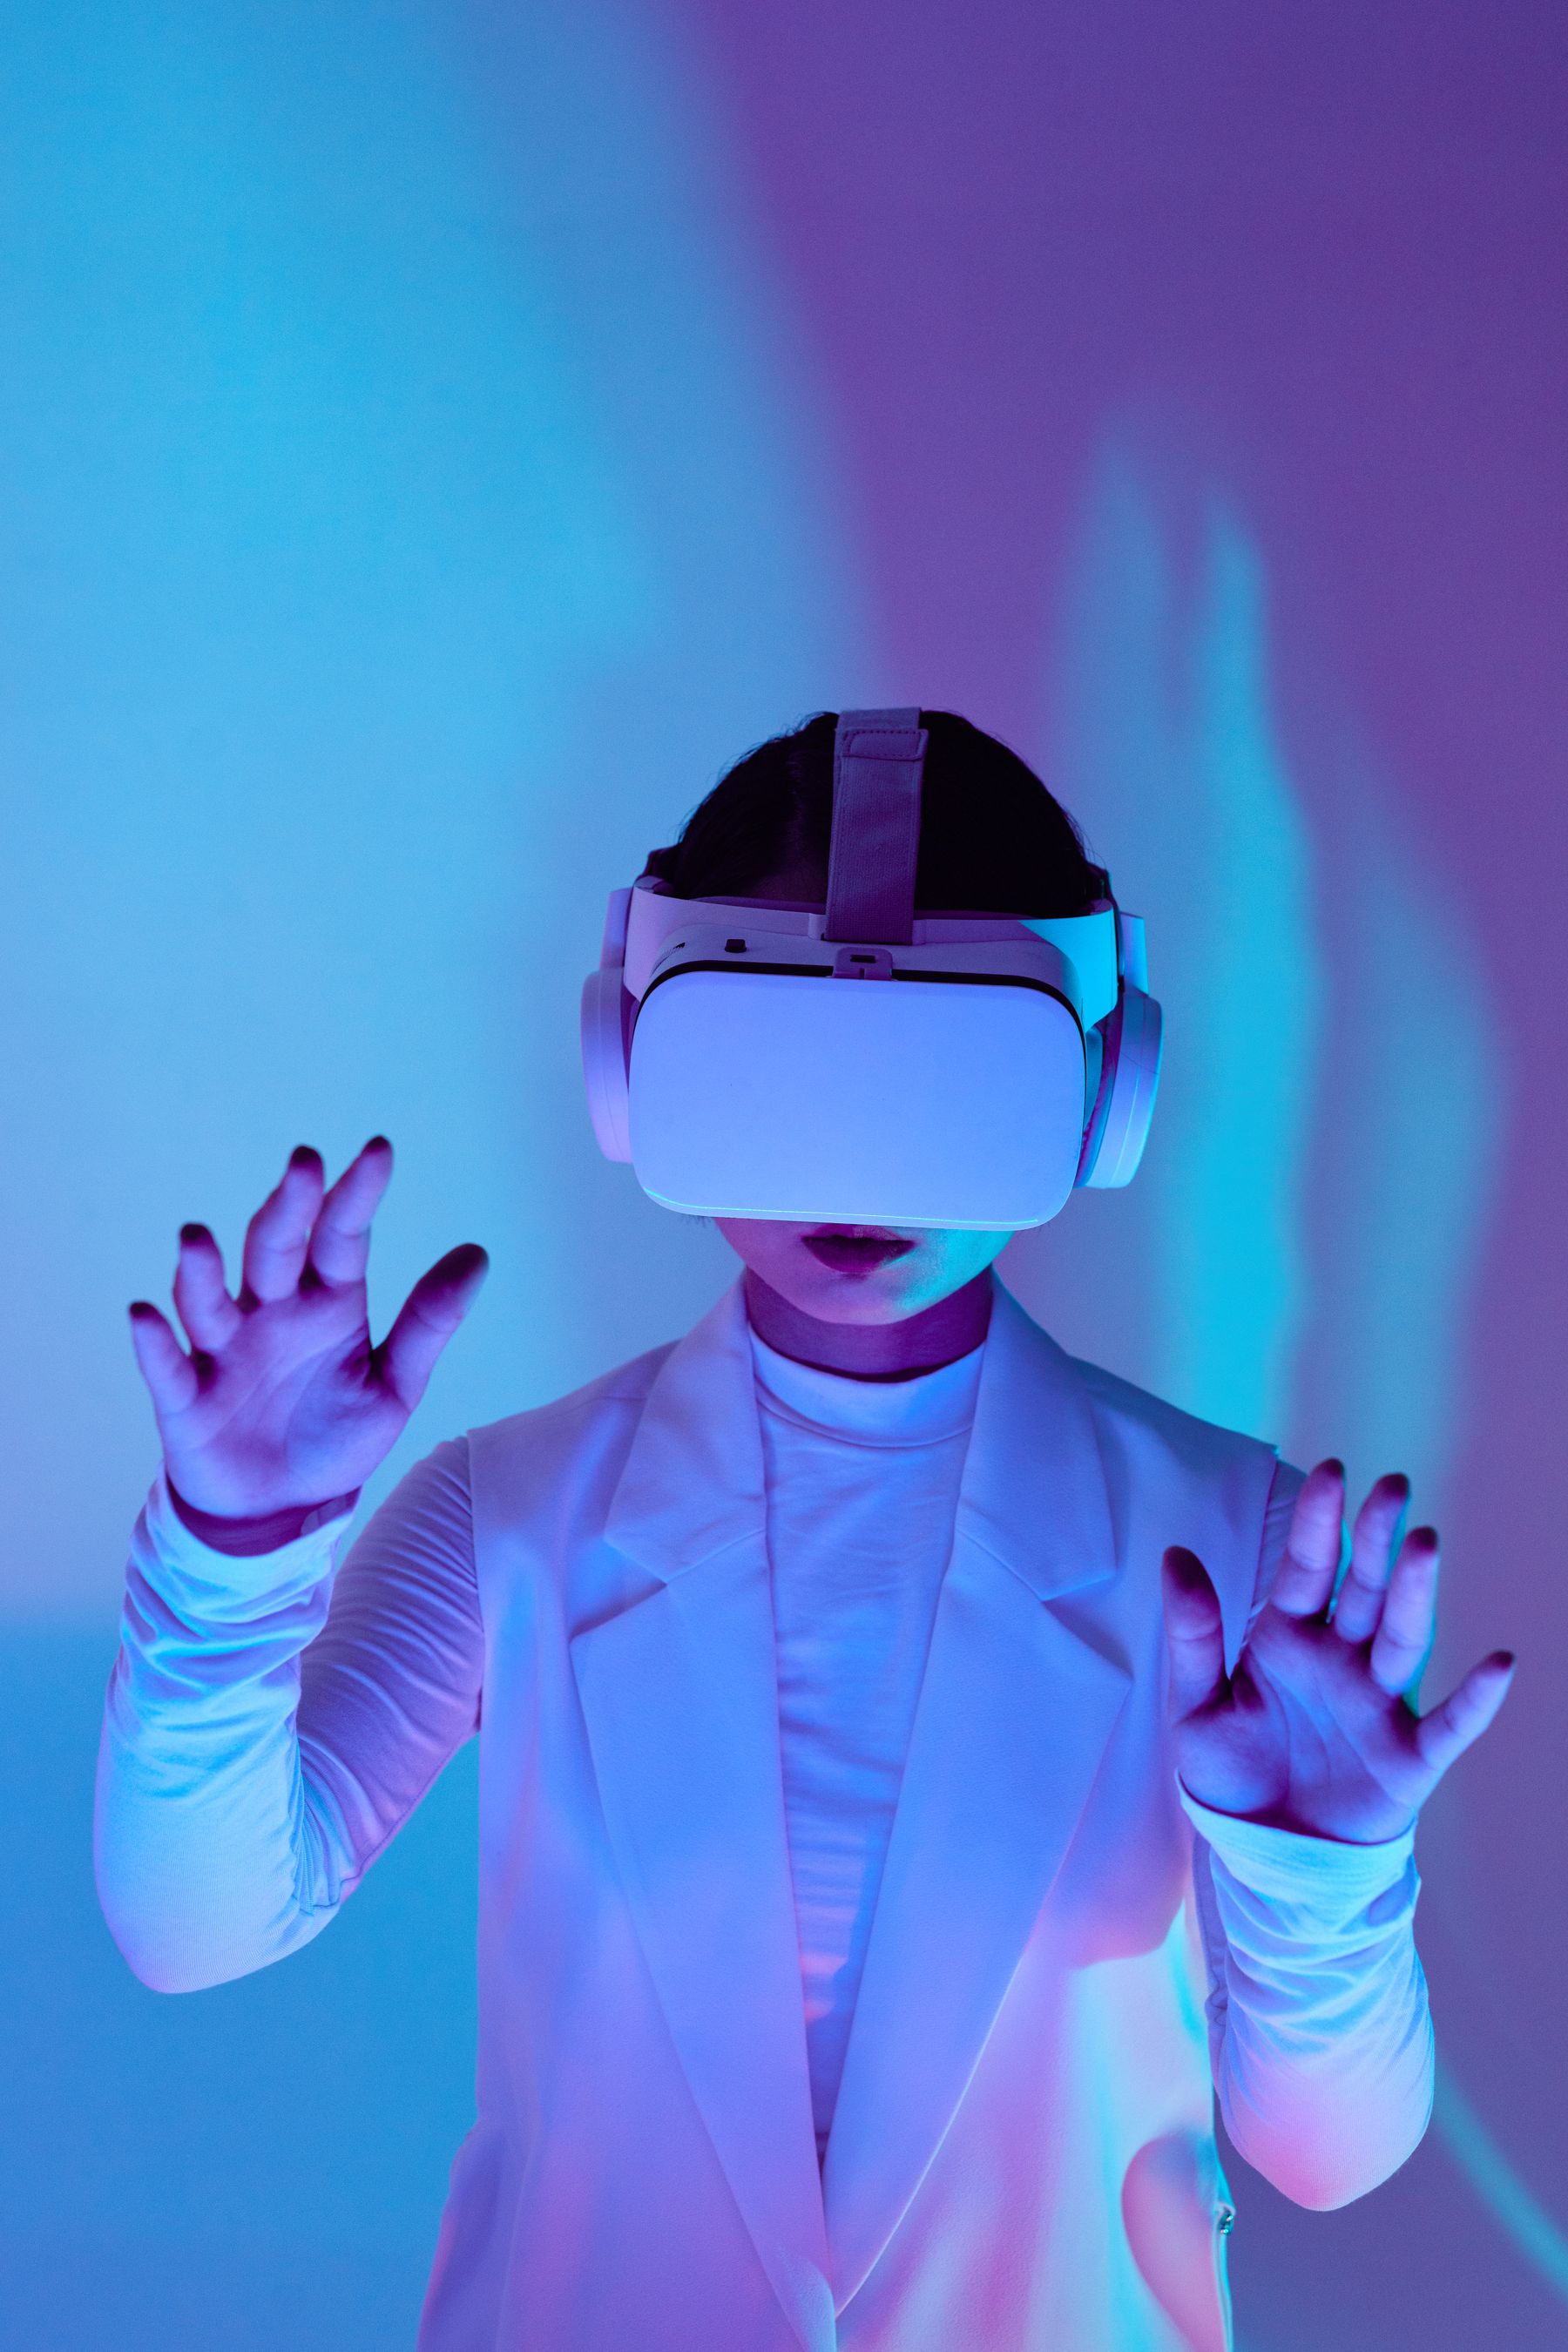
Simulation gear can turn a standard gaming setup into a more physical and immersive environment. The strongest systems begin with compatible equipment and a stable layout.
Choose the Experience
Start With One Simulation Category.
Build around the core controls of one experience before adding secondary panels, tracking systems or motion accessories.
Racing Simulation
Common components include a steering wheel, pedal set, shifter and a stable mounting frame or desk clamp.
Flight Simulation
Flight stations may use a joystick, throttle, rudder pedals, control panels and one or more displays.
Virtual Reality
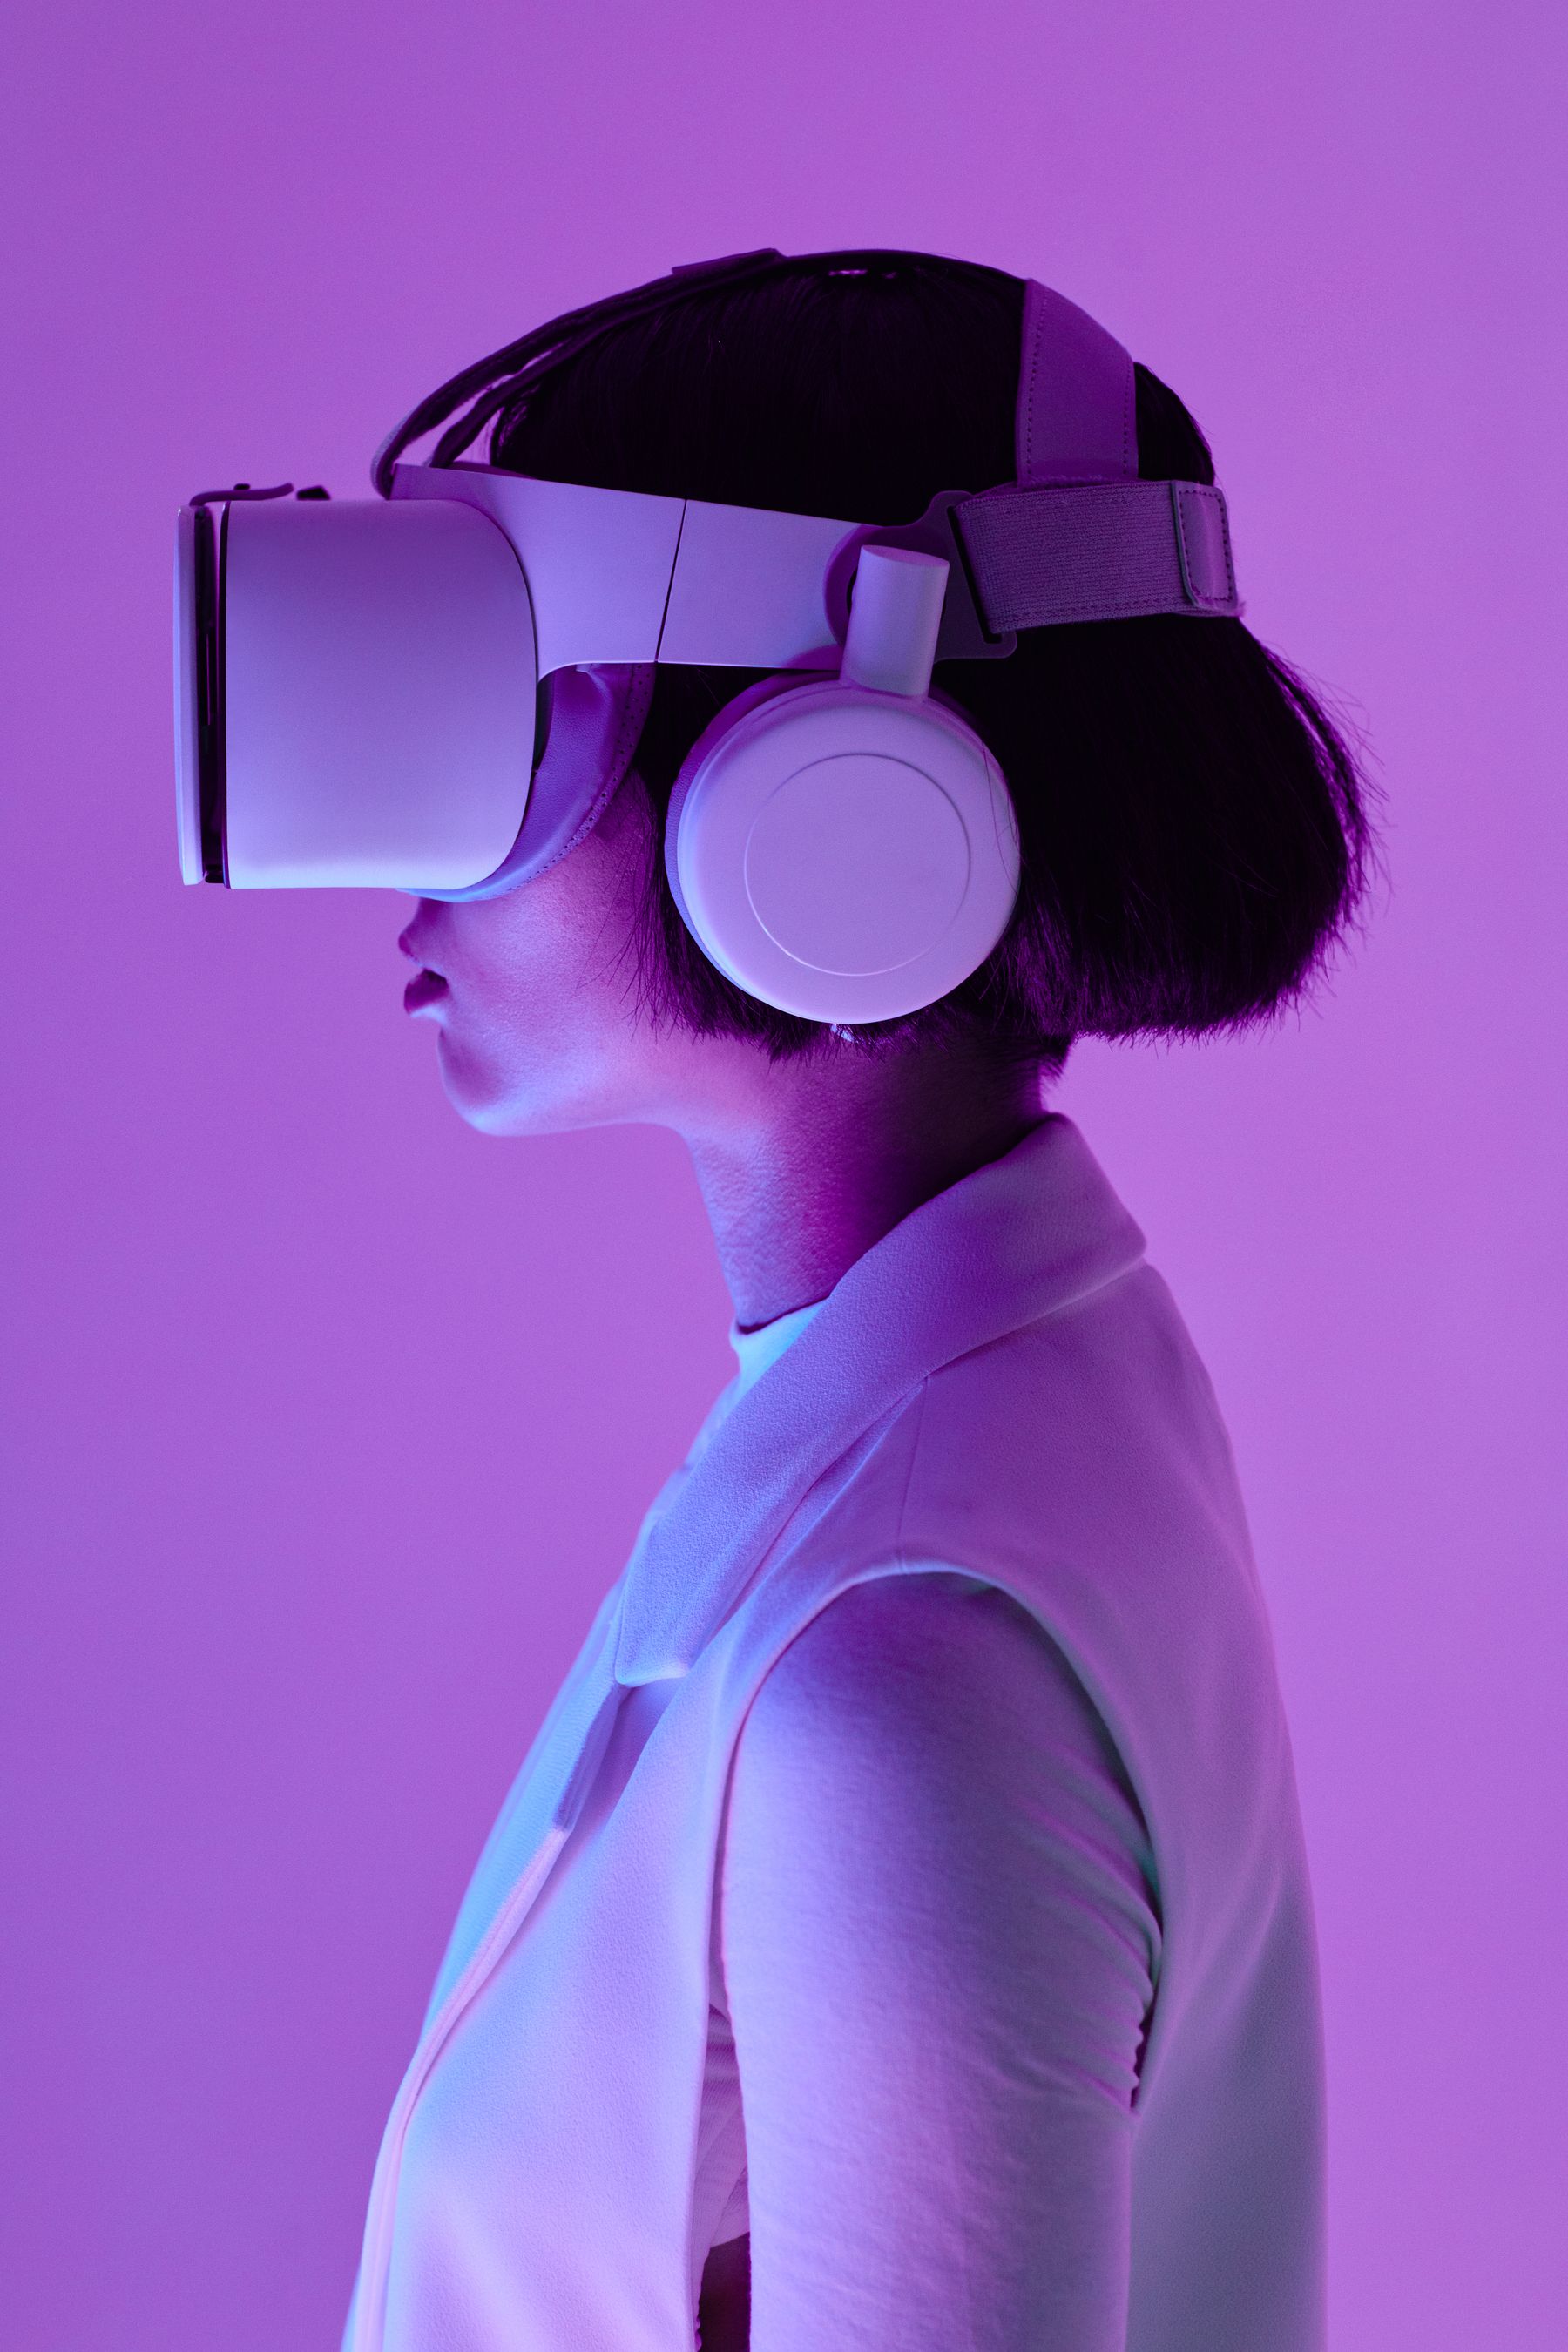
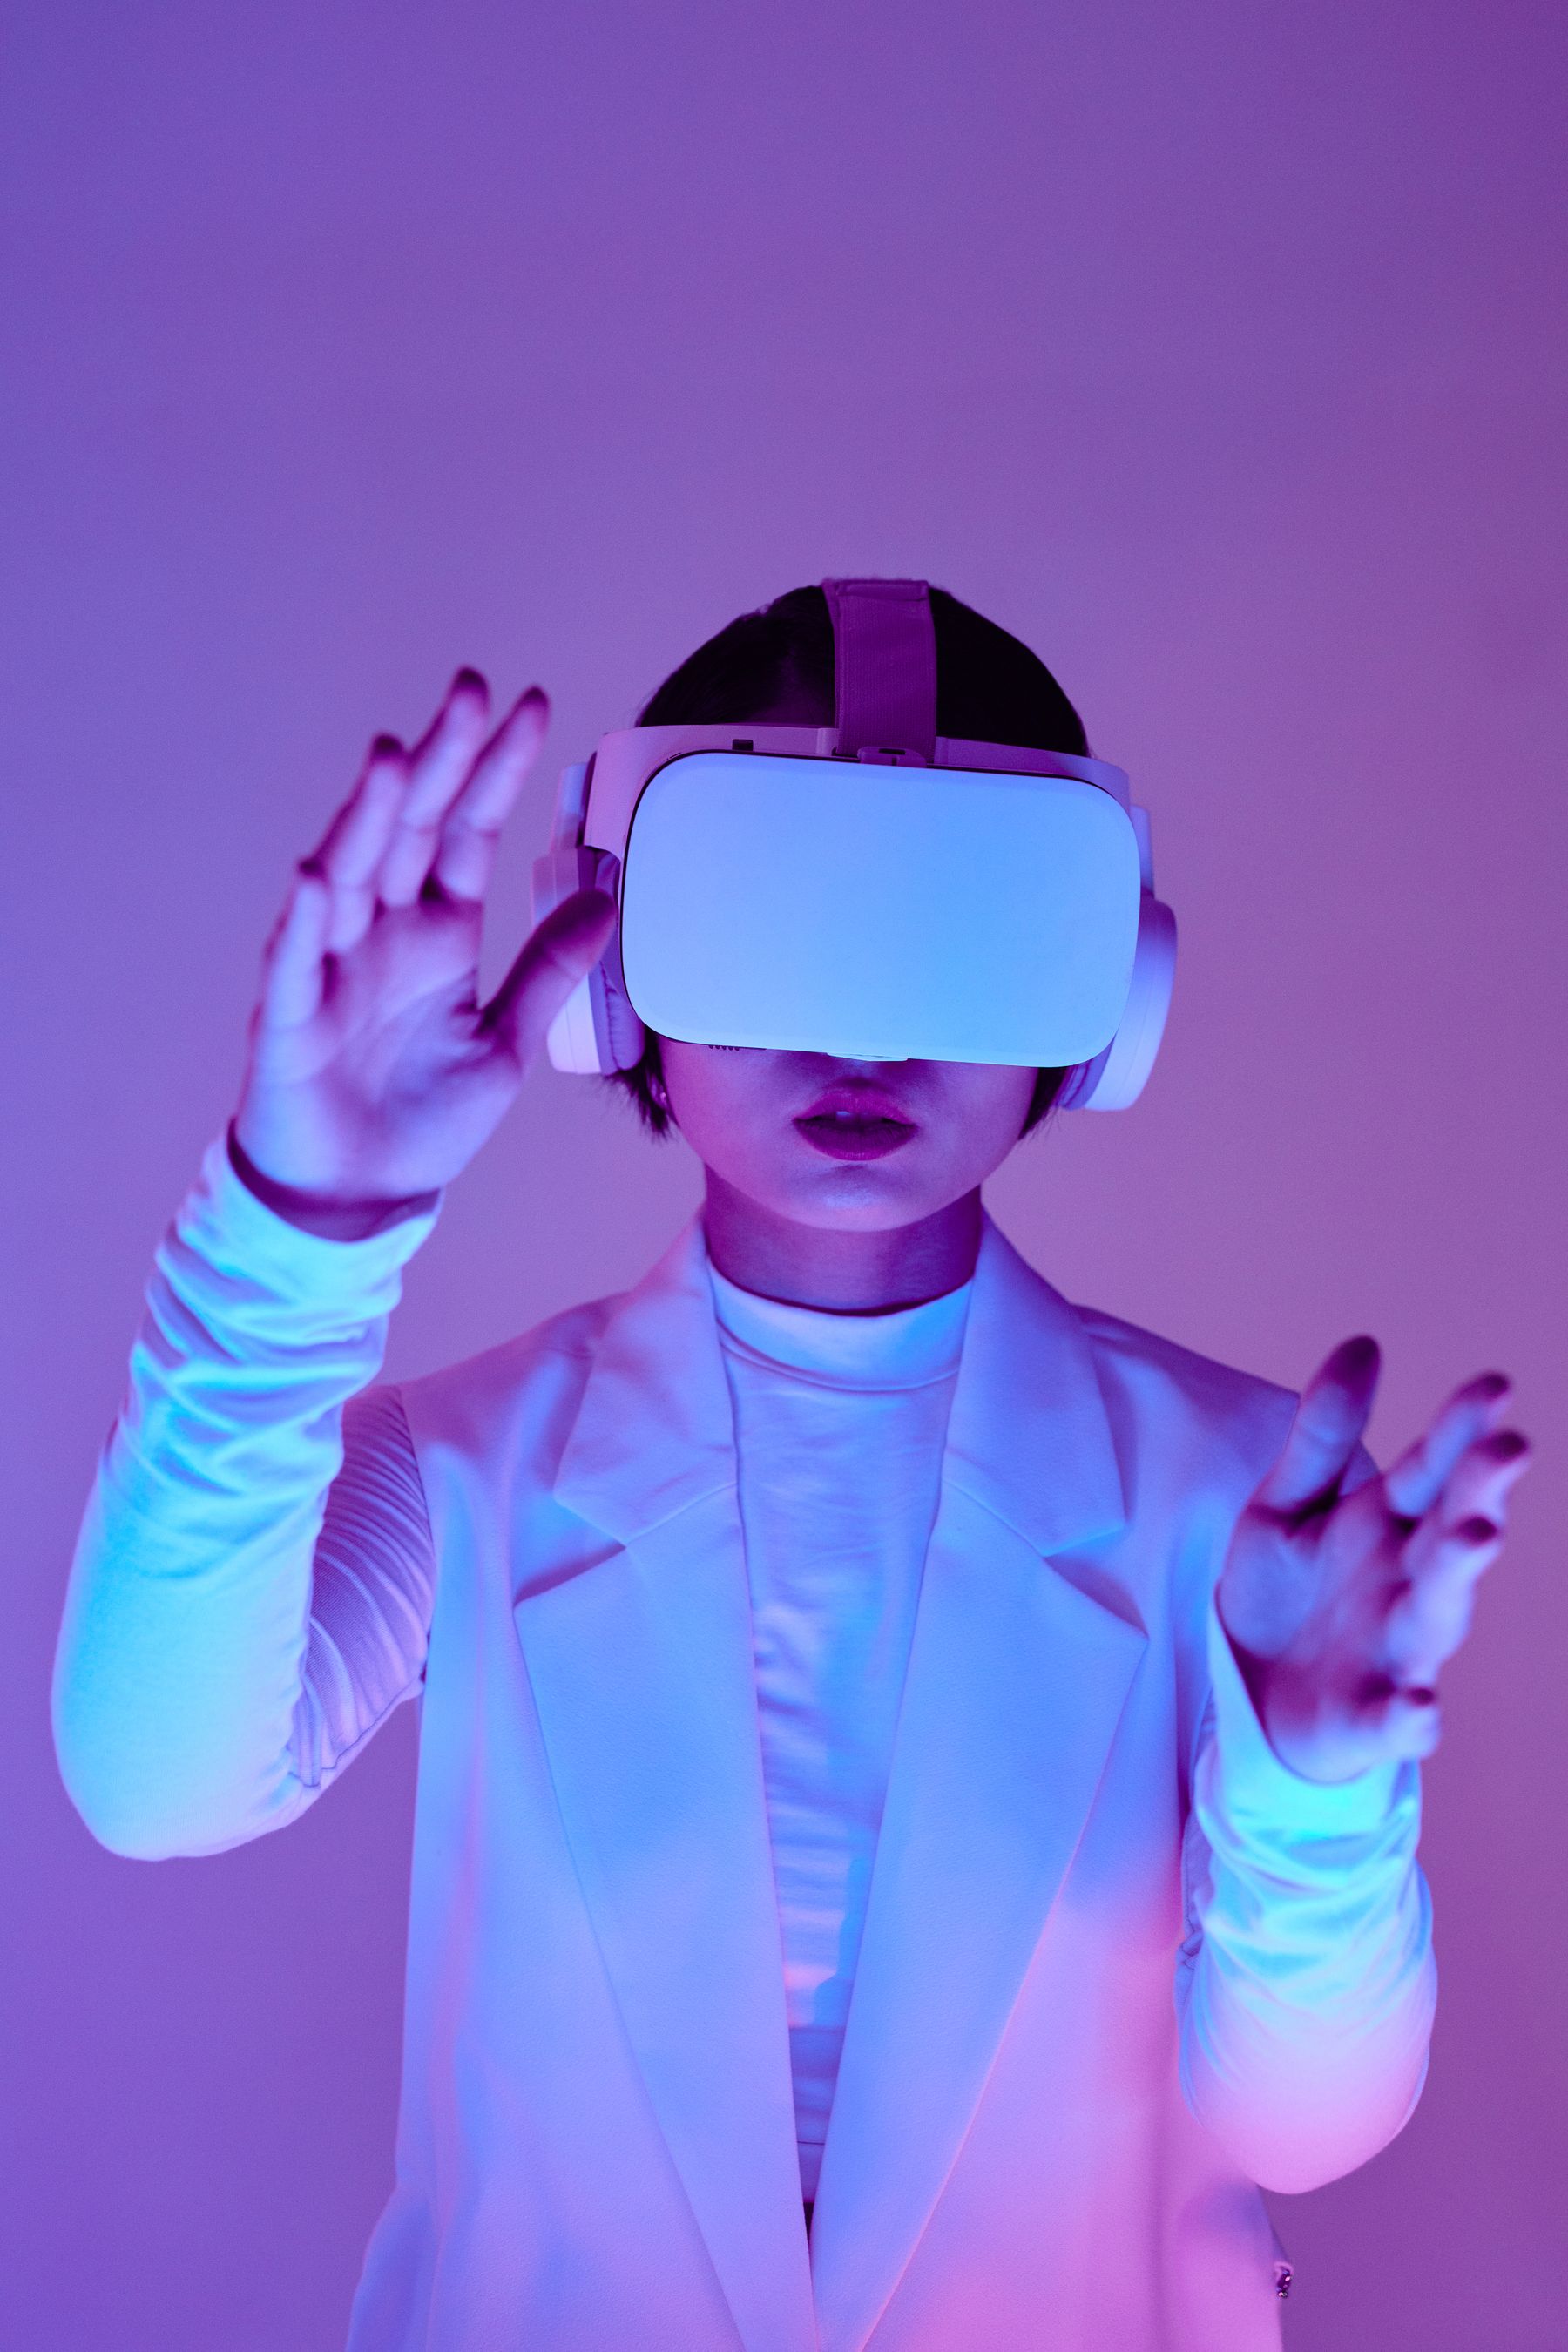
VR requires a compatible headset, controllers, tracking support and enough open space for safe movement.
System Compatibility
Confirm Every Connection Before Expanding.
Not every wheel, joystick, headset or accessory supports every platform. Review software, power and available ports before purchasing additional components.
Control Foundation
Build a Stable Base for Physical Controls.
Wheels, pedals, joysticks and throttles experience more force than standard keyboards and controllers. Secure mounting helps preserve control, alignment and equipment safety.
Dedicated Frame
Provides the strongest stability for permanent simulation systems.
Desk Clamp
Supports more flexible setups when the desk is strong enough.
Weight Support
Confirm that the desk or frame can handle equipment mass and movement.
Seat and Display Position
Align the Body, Controls and Screen.
Your seating position should allow comfortable access to every control. Display count matters less than correct alignment with the simulation controls.
Racing Alignment
Keep pedals aligned with the legs and the wheel close enough to avoid overreaching.
Flight Control Reach
Place joystick, throttle and switches where the arms remain relaxed.
Centered Display
Keep the primary view aligned with the control position and seated posture.
VR Safety Area
Protect the Movement Zone Before Entering VR.
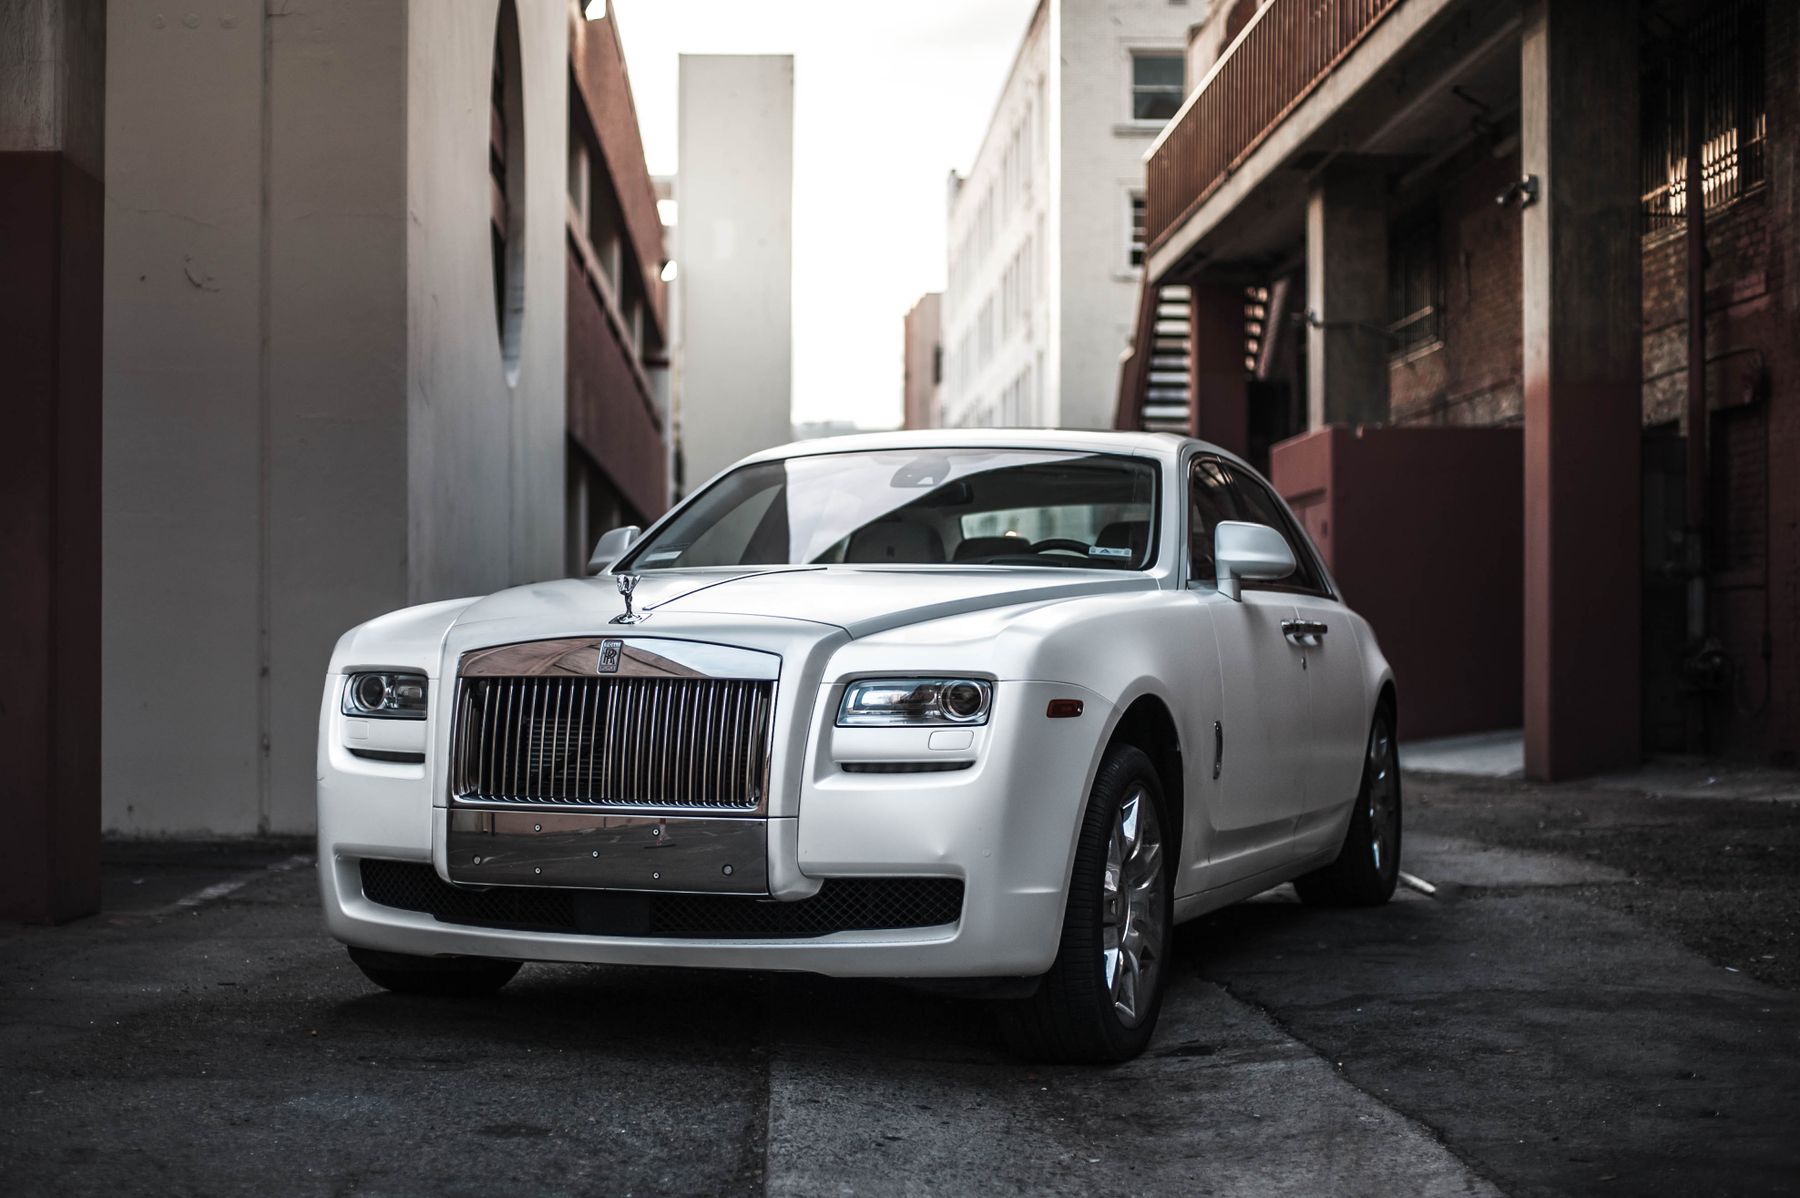
Clear the floor, reduce cable tangles and maintain awareness of walls, displays and surrounding furniture.
Clear the Floor
Remove chairs, loose cables and sharp-edged objects from the movement zone before each session.
Respect the Boundary
Follow the headset manufacturer’s guidance for tracking, room boundaries and safe use.
Gradual Expansion
Add Accessories Only After the Core System Feels Right.
Gradual expansion makes it easier to identify which accessories genuinely improve the experience.
Begin with the wheel, joystick, headset or essential control set.
Secure the equipment and refine the seated position.
Add shifters, throttles, pedals or control panels when needed.
Consider tracking, button boxes or motion equipment only after testing.
Adaptable Space
Make Switching Between Activities Easier.
Quick-release mounts, movable frames, adjustable monitor arms and organized cable connections can help one space support standard gaming, work, streaming and simulation.
Quick-Release Mounts
Remove or reposition controls without rebuilding the entire setup.
Movable Frames
Shift dedicated simulation equipment away when the space is shared.
Organized Connections
Label and group cables so activities can change without confusion.
Build the Foundation
Expand Around the Experience You Value Most.
Immersive simulation gear works best when every component feels stable, accessible and connected to one clear purpose.